Good food photography is essential for a food blog. Unfortunately, you cannot smell or taste through a computer screen, so all you have to convince your readers that the recipe you are sharing is indeed a good, tasty, AMAZING recipe, is through its looks.
When I first started blogging, I struggled to understand this and it took me a while to get where I am now. I am not saying I am the best food photographer in the world (ahhh I wish!), but I have come a long way since I started Manu’s Menu, so I thought I’d share a few tips and what I have learnt so far.
For more technical info on food photography, you can visit my friends’ sites:
Camera and Lenses
When I started my blog, I was using a point and shoot digital camera (a Canon PowerShot S50), but I soon realised that that was not going to cut it. So I got my husband’s Canon Digital 350D/Rebel XT 8MP
to photograph the final dishes and started experimenting with it.
I also did not have ideal lenses for food photography as I was using a Canon EF 70-200mm f/4 L IS USM Lens and a Canon EF 24mm f/1.4L II USM Lens
, which are very good lenses, but not the best to take close up pictures!
After doing a lot of research I decided to invest in what I think is one of the best lenses ever, a Canon EF 50mm f/1.4 USM. What I like about it is that it’s quite versatile, as it is great for food photography, but also for portraits. It is really sharp and you can easily tell the difference in image quality.
I also hope to add a Canon EF 100mm f/2.8L IS USM Macro Lens to my equipment so I can take macro shots (basically… better close up pictures).
Now I have a new camera, a Canon EOS 6D, that I use for my final pictures and a Canon PowerShot G15 that I use for step-by-step pictures.
I also shoot on a tripod so that my images are not blurred.
Food Photography and Food Styling
Having a good camera and a good lens is really important, but it’s not all. You need to understand how to use them and how lighting and composition can influence your work.
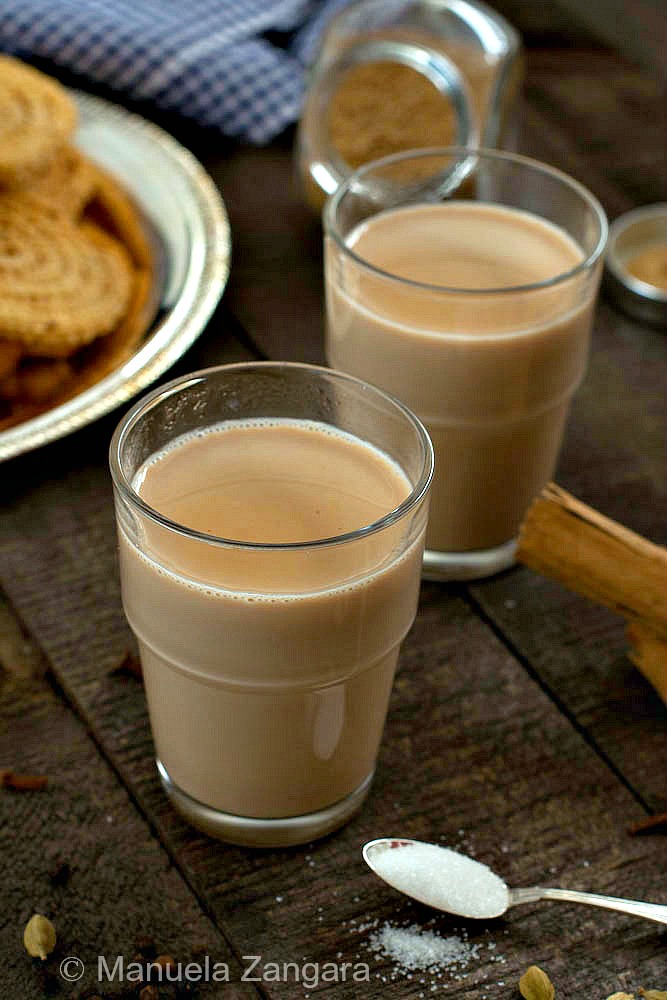
Remember that a picture is like a story… you want to tell something to the people who are looking at it. You want to convey an emotion, a mood. Each dish can evoke something in the person who is looking at it. For example, for me the best setting for a nice bowl of soup or a hot cup of chai should have a dark, wintery look.
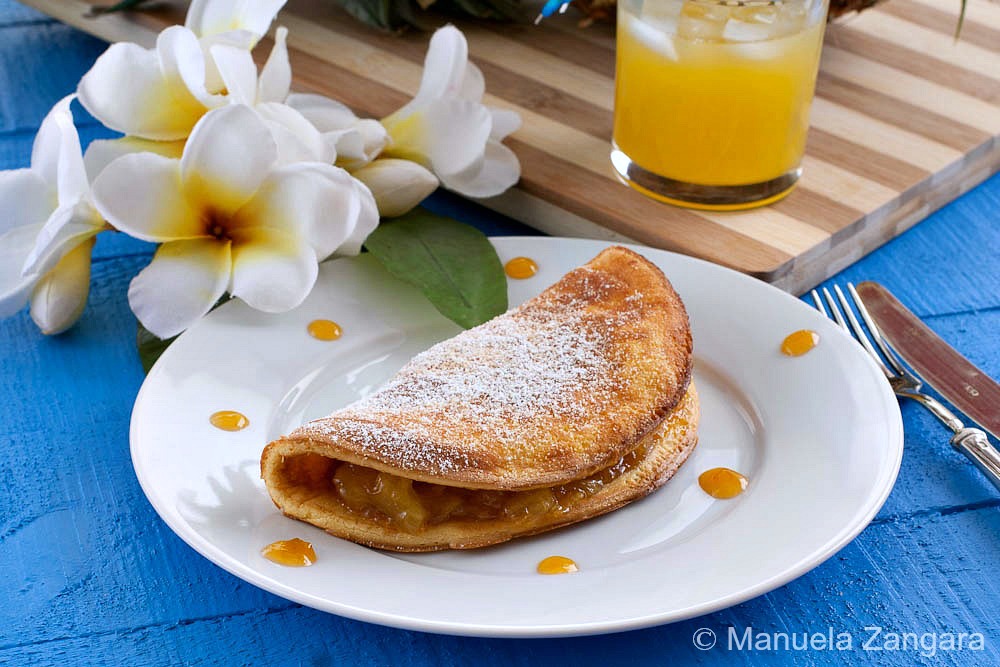
If you are photographing a tropical breakfast instead, a brighter, “happier” look would be more appropriate.
How do you achieve to tell “the story of that specific food”? Mainly through lighting and props.
Lighting is probably the most important aspect. You can manipulate the light to create a specific mood. I always shoot in natural light in a bright area. In most cases, my advice is to avoid direct sunlight as it casts harsh shadows on the subject. To avoid harsh shadows, you can diffuse the light with a diffuser, a sheer curtain or even a sheet of baking paper taped to the window. I am lucky enough to have just the right curtains! You can also reflect the light back onto the subject by using a reflector (or a piece of white foam), thus removing some unwanted shadows.
Remember though that sometimes you may want to keep those shadows if you want to convey a specific mood (remember the chai we were talking about above!).
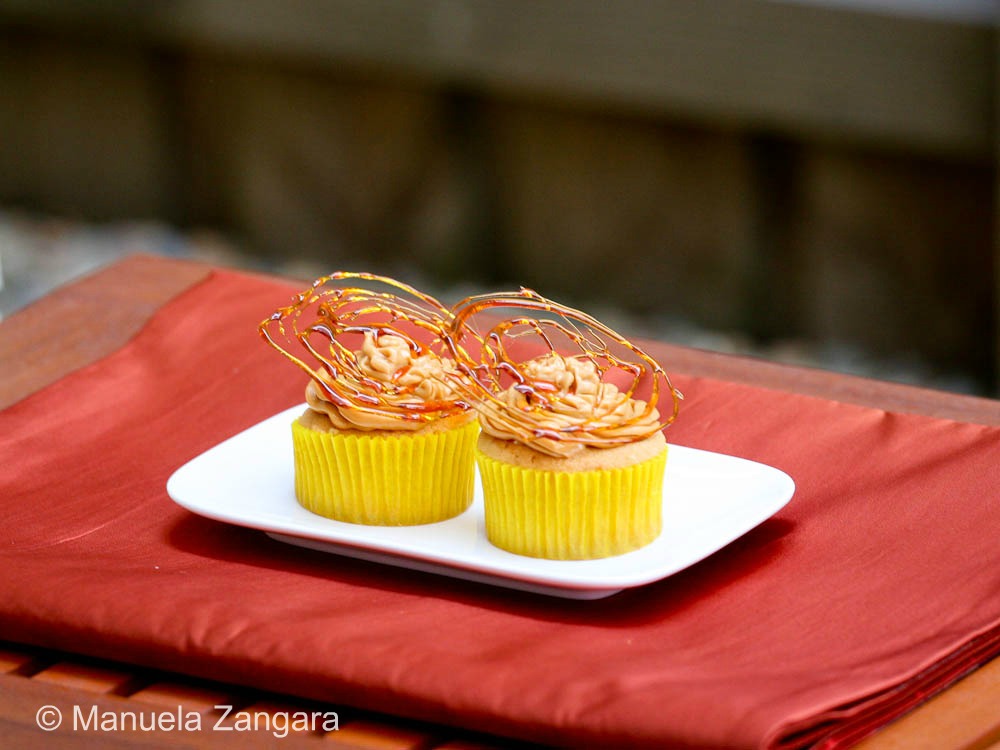
You also have to decide what the focus of your image will be and think about what depth of field suits the image that you want to shoot. Blurring the background enough with a low aperture setting to suggest and soften other elements in the photo while making the focused portion what you want the viewer to see first, can be very effective. Set the aperture and ISO according to the light. Remember that the aperture you select will also affect the depth of field, so take that into account as well. Always shoot in manual mode and RAW.
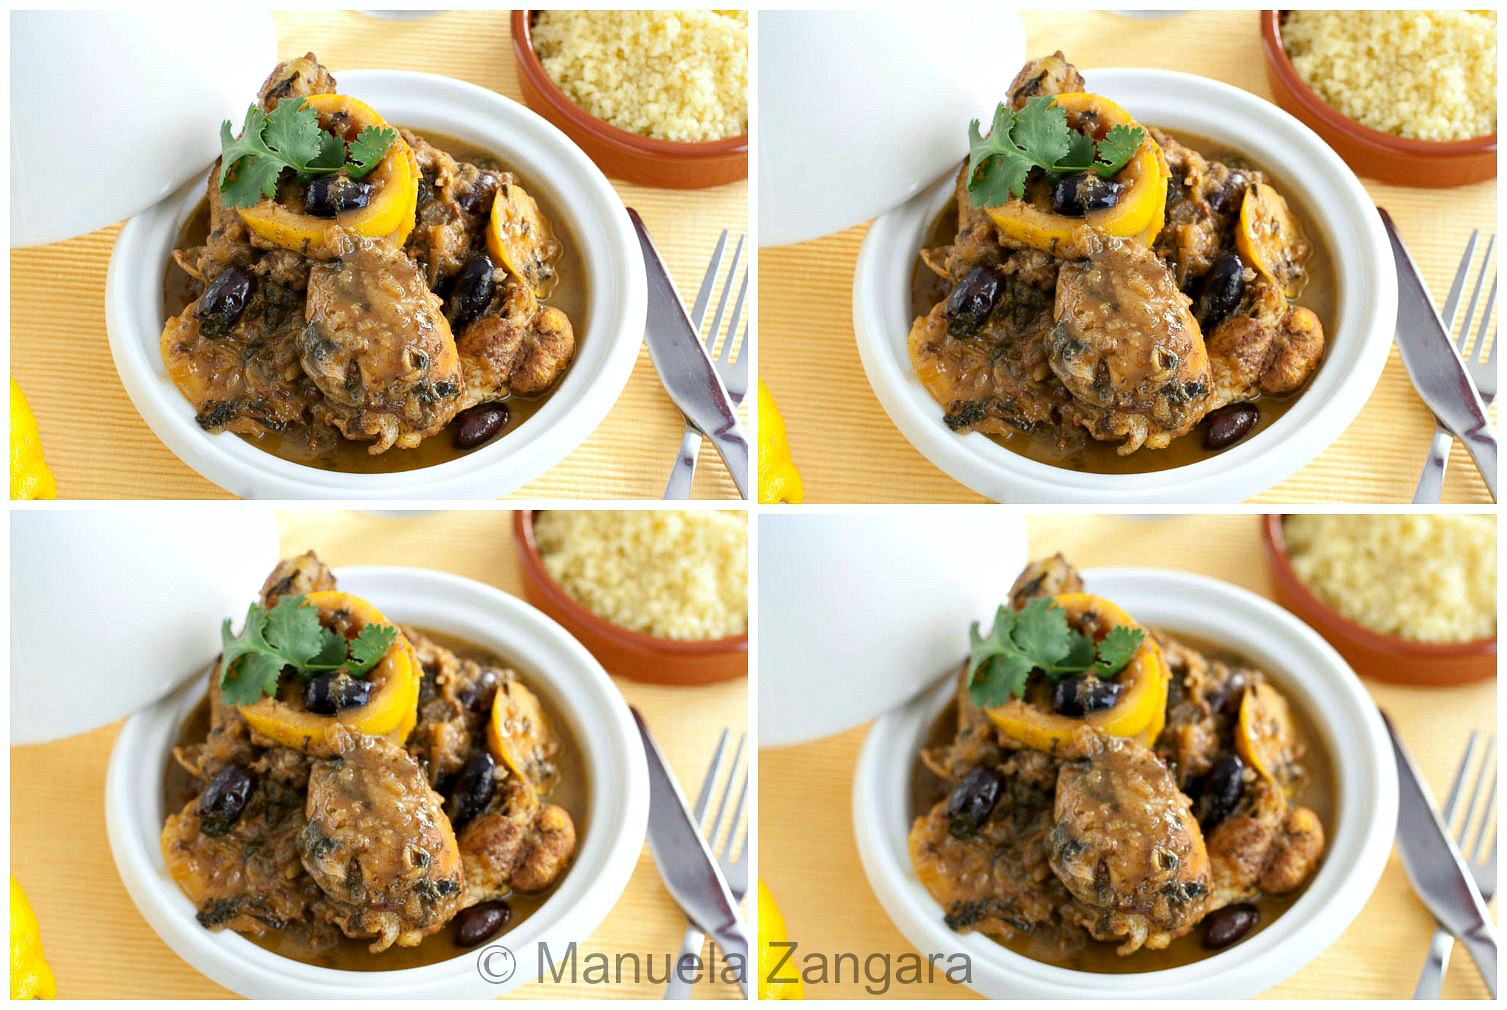
See how the depth of field changes in these pictures:
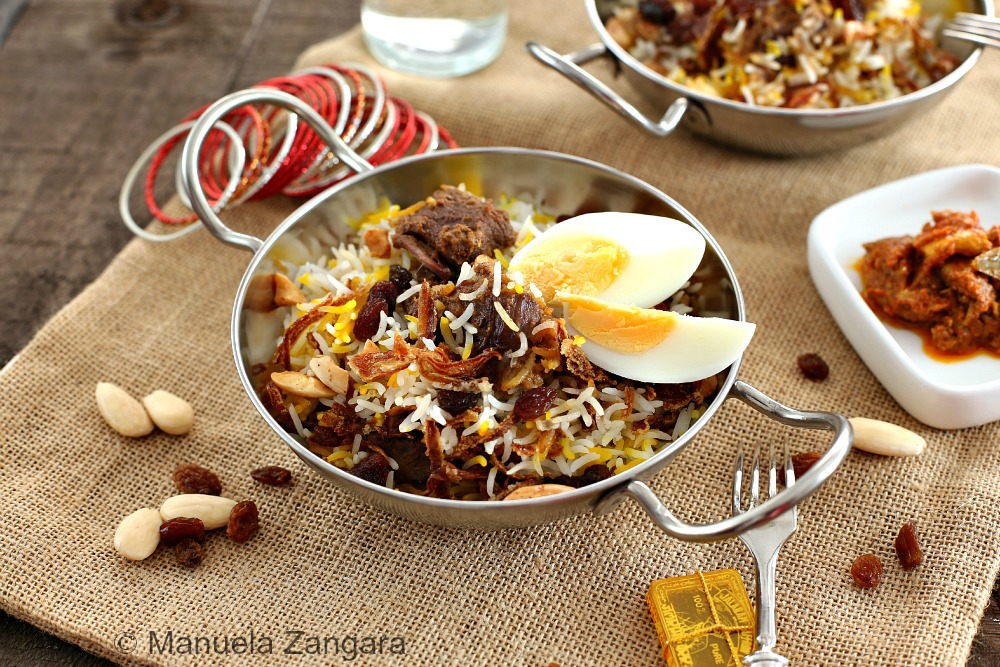
Also, shoot from different angles. Some dishes are best shot from a 30-45 degree angle toward the dish:
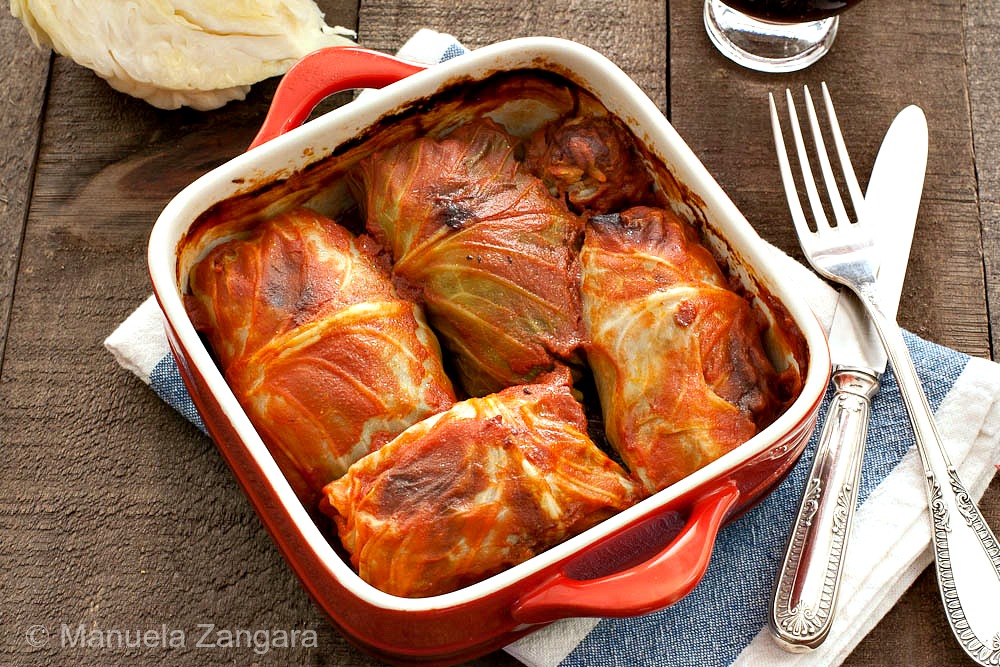
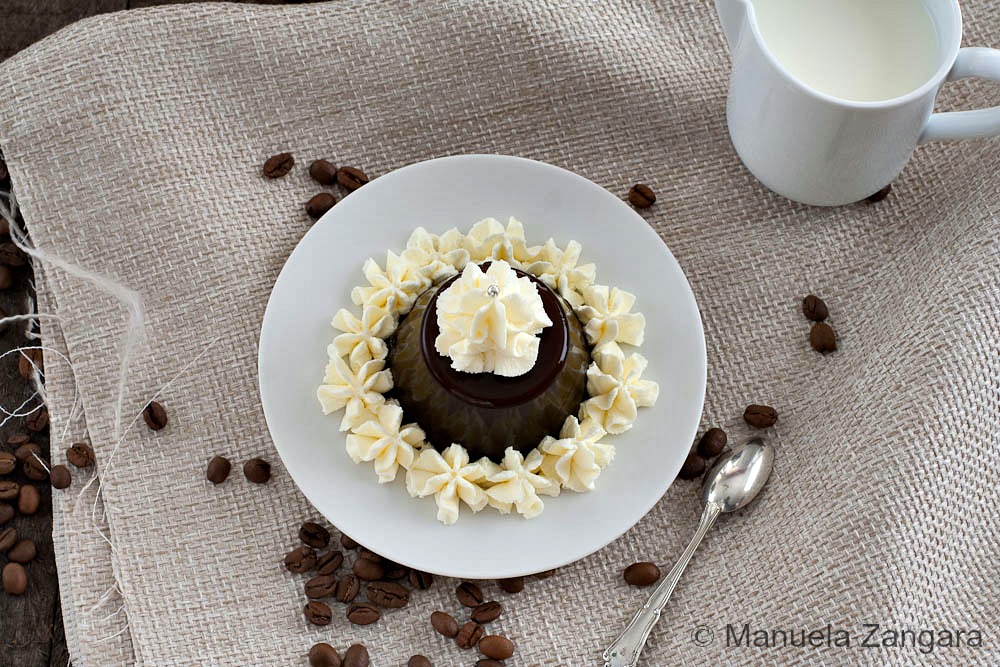
while others are best shot from above
or straight.
When composing a photo, I usually like to consider the “rule of 3rds”: divide your shot visually into roughly 3 horizontal or vertical divisions and position important elements of your photo along those lines. The human eyes are instinctively attracted towards those lines.
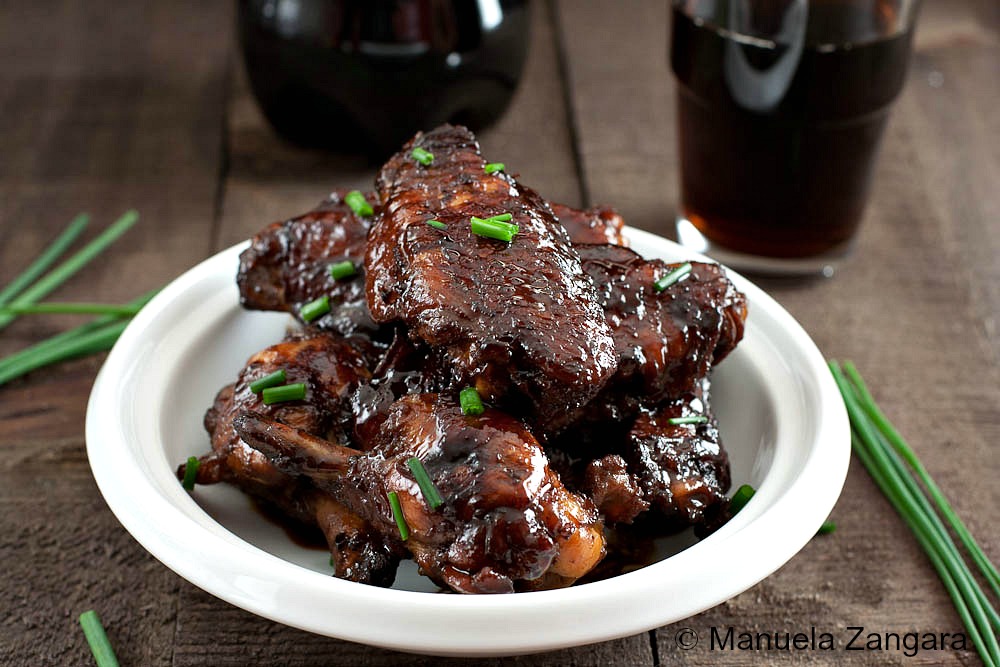
Avoid cluttering your scene. Keep it simple and to the point. Only use enough props and colours to set the mood. I often like the “tone to tone” approach, so I use only one colour with different shades… then maybe add a small object/prop of a completely different colour, like the chives in this picture.
I suggest you plan your scene in advance, especially at the beginning. I actually used to draw a picture of what I wanted it to look like. Then I set up the equipment, adjust the lighting and place the props in the right spots and when the food is ready, I only have to take the pictures!
Resources
To improve my photography and styling, I simply started browsing through sites like Foodgawker and Tastespotting. You can learn a lot just by “studying” other people’s work. You can see how to pair colours and props and how they manipulate the light to create a certain feeling.
If you want to learn more about food photography and styling, I highly recommend these resources, which were really helpful to me:
Plate to Pixel: Digital Food Photography & Styling by Helene Dujardin
Food Photography: From Snapshots to Great Shots by Nicole S. Young.
Focus On Food Photography for Bloggers (Focus On Series): Focus on the Fundamentals by Matt Armendariz
Yummy Pics – A Food Blogger Guide to Better Photos by Nancy Lopez-McHugh
And above all… practice, practice, practice! The more pictures you take, the better they will be!
Photo Editing
When using a DSRL camera, make sure you take the pictures in raw format as that will give you better editing options.
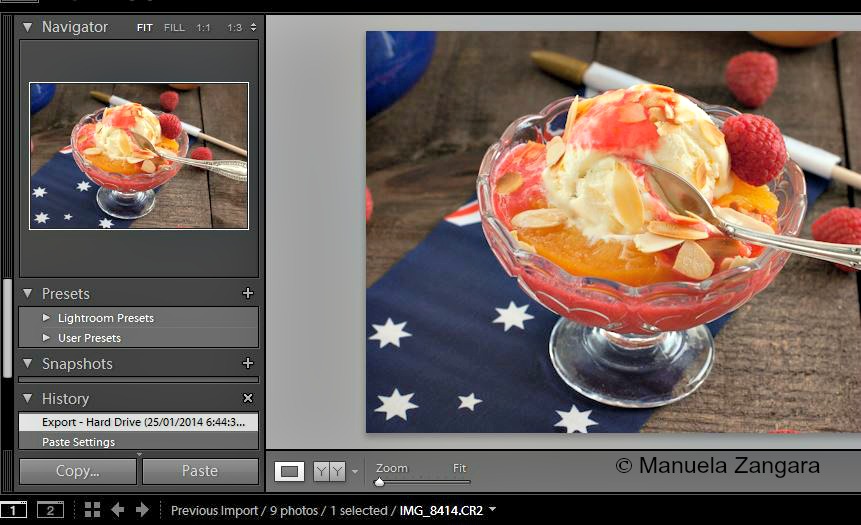
Invest in a photo editing software like Lightroom 5. What I like the most about it is that you can bulk edit your photos by just copying and pasting the settings of your already edited photos.
My photography Equipment
Cameras:
Lenses:
Other:
*In the spirit of full disclosure, this page contains affiliate links, which means that I may get a commission if you decide to purchase anything from the sites above.
Next: Increasing Traffic







Love this post – thanks for sharing your tips!
Fantastic post Manu. I loved reading this.
No wonder you take such good photographs.
You put as much care and detail into taking them as you do with your fabulous food!
Manuela you are very generous with the food photos, advice and more. I am sure it will help a lot of food bloggers.
Great post! You’ve shared a lot of good information here. Pinning to come back and read through it a bit at a time so that the info sinks in.
Thank you so much for sharing all this great info. I’ve still got so much to learn about food photography. You’ve packed this article with great advice and I loved the example photos. Some sites I’ve been to tell you in words only and do not show an example. Now I just need to figure out which camera will be the best for me.
I’m building a light box now, but since most of my cooking is in the evening, I don’t have natural light. Looking for lamps to use day light bulbs and hopefully that will help. Any advice?