


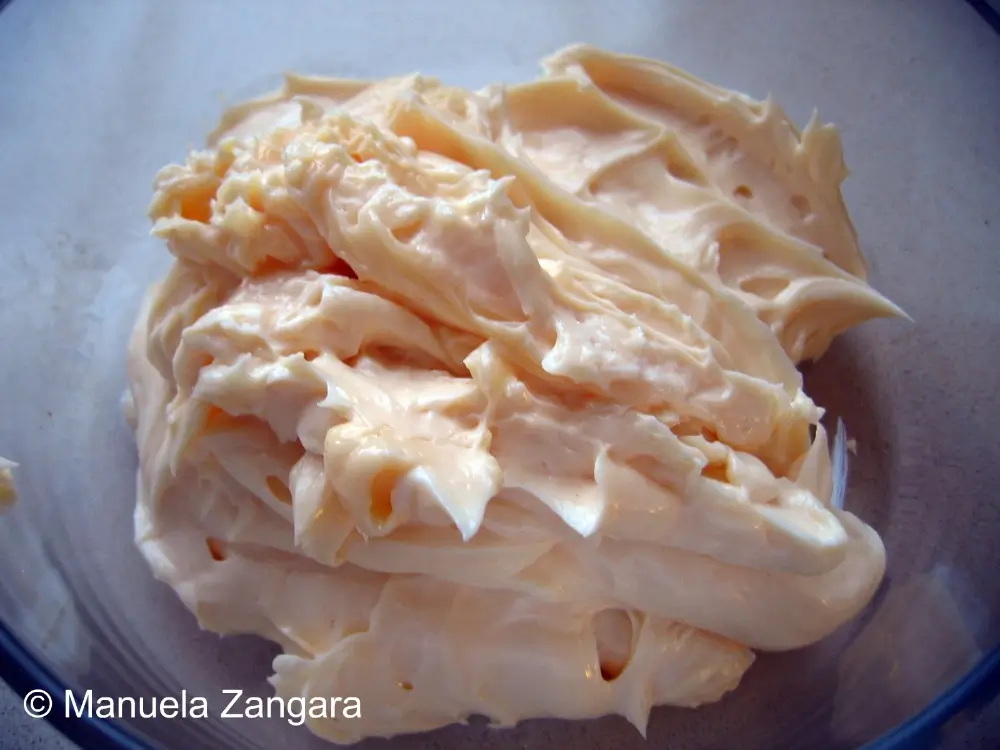
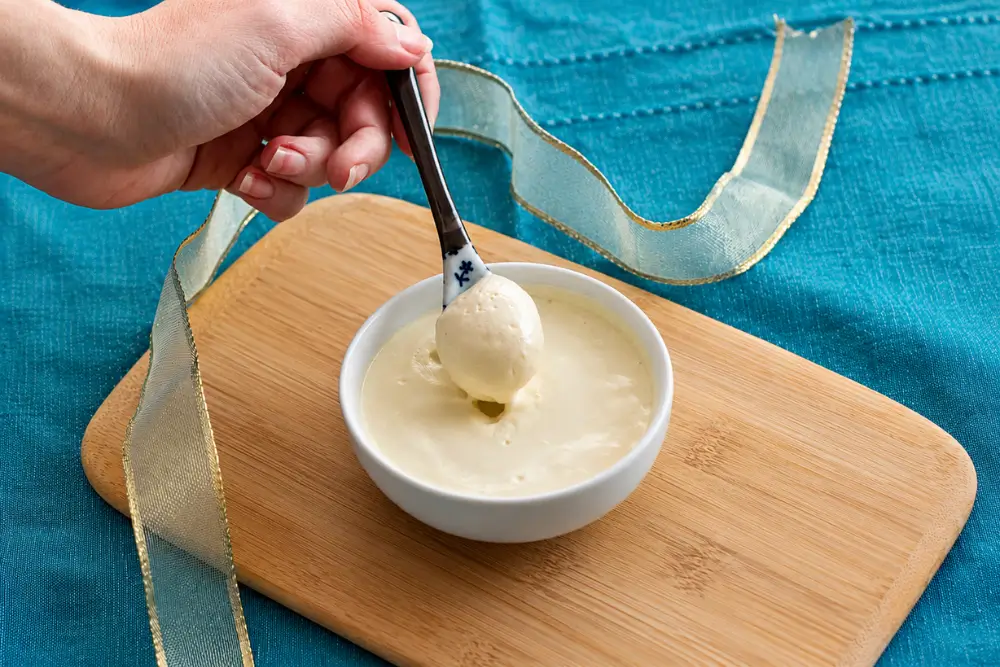
No condensed milk in the cupboard? This Homemade Condensed Milk uses simple pantry staples and gives you a smooth, reliable result whenever you need it.
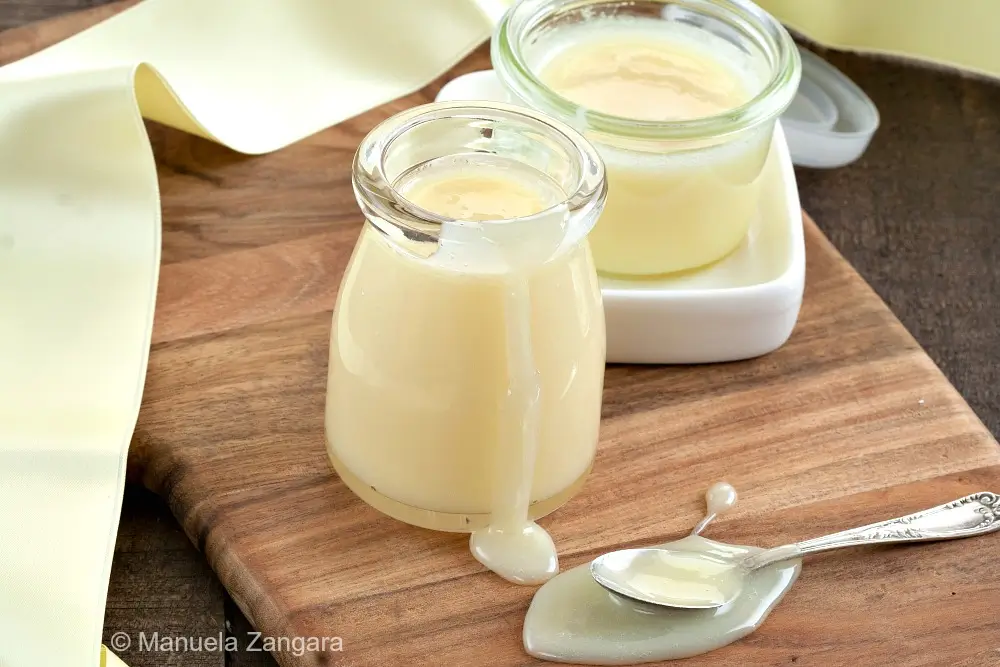
The other day, I received a comment from a reader asking for a substitute for condensed milk, which isn’t easy to find in her country. That request reminded me to finally share my recipe for homemade condensed milk.
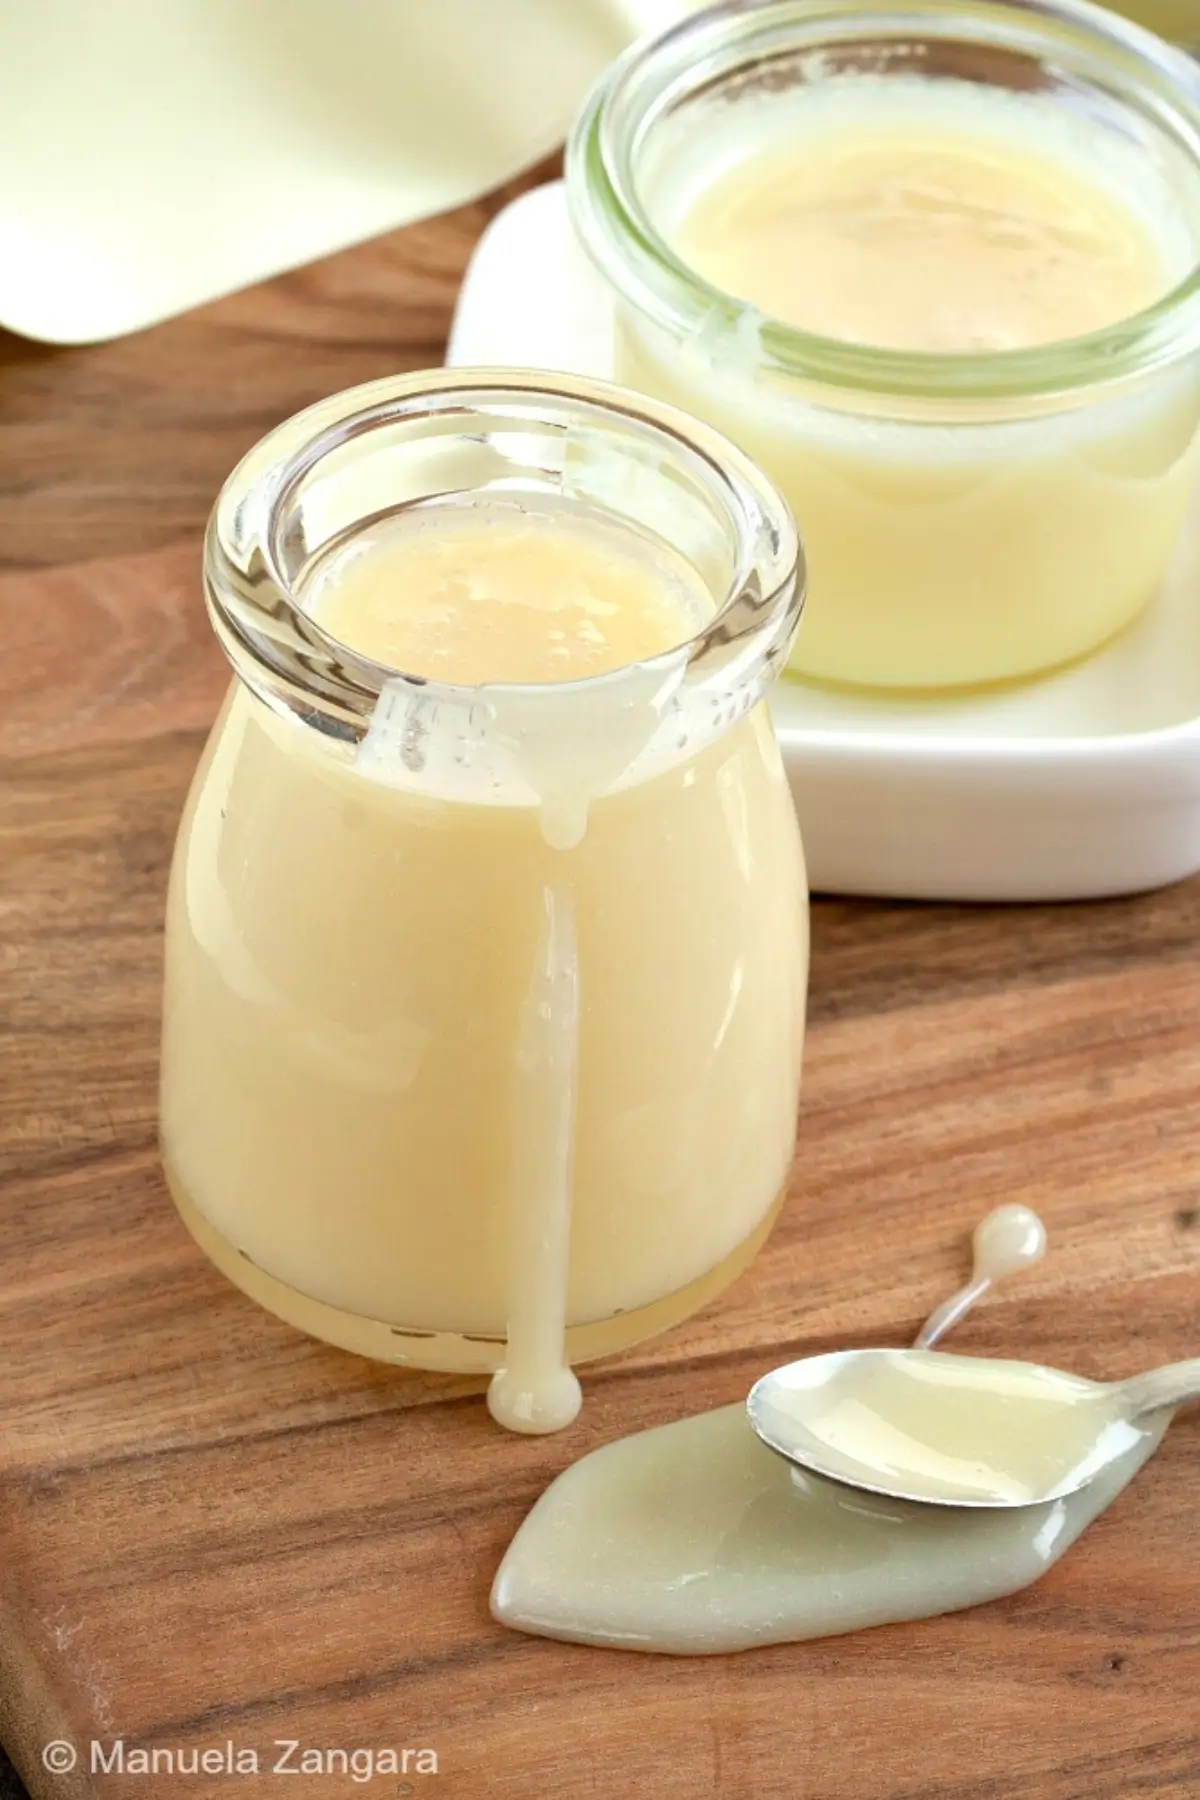
It made me realise I should finally share this recipe on the blog, as making it at home is very easy and it takes all of 20 minutes.
You know how much I enjoy preparing things from scratch, and I have always believed in homemade cooking whenever possible.
It feels good knowing exactly what you are feeding yourself and your loved ones. There are no hidden preservatives in this version, and the flavour is every bit as good as the canned one, if not better.
You can use it in any recipe that calls for condensed milk, like my Condensed Milk Cookies or my Condensed Milk and Coconut Cake. Or enjoy a little spoonful on its own, it is that good.
Why Keep This Condensed Milk Handy
- Works as a fun topping for warm toast when you crave something different.
- Cooks in about 20 minutes, perfect for quick cravings or last-minute baking.
- Stores neatly in a jar and pours easily when you need a quick drizzle.
Key Ingredients for Homemade Condensed Milk
Milk
Full–fat milk reduces into a smooth mixture with a gentle sweetness. Using milk with a higher fat percentage gives a richer finish and helps the texture set evenly, which works well in baked desserts and fillings.
Sugar
Regular white sugar works best because it melts evenly and keeps the final flavour neutral enough to suit both light desserts and stronger flavours like chocolate or coffee.
Baking Soda
A small pinch helps stabilise the mixture once the heat is turned off. It lightly aerates the milk and sugar base, giving the cooled texture a smoother feel. Use only a small amount, as too much can affect both colour and taste.
Find the complete list with measurements in the recipe card below.
How to Make Homemade Condensed Milk
Step 1: Pour the milk into a pan and add the sugar.
Step 2: Bring it to a boil, then simmer over medium–high heat, stirring regularly. Let it reduce to half its volume; this should take about 20 minutes. The milk can boil over at any time, so keep watching it.
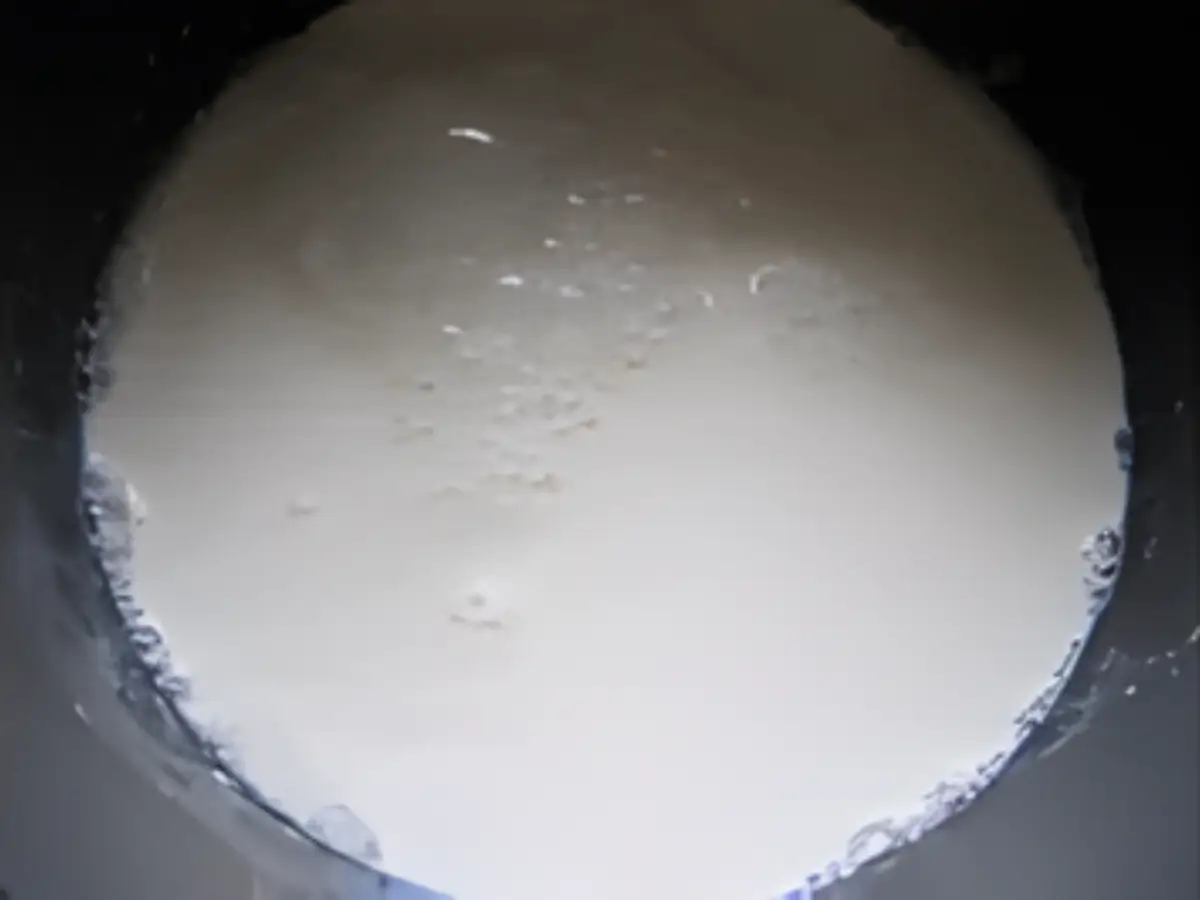
Step 3: After about 17–18 minutes, the milk will turn a vibrant colour and become very frothy.
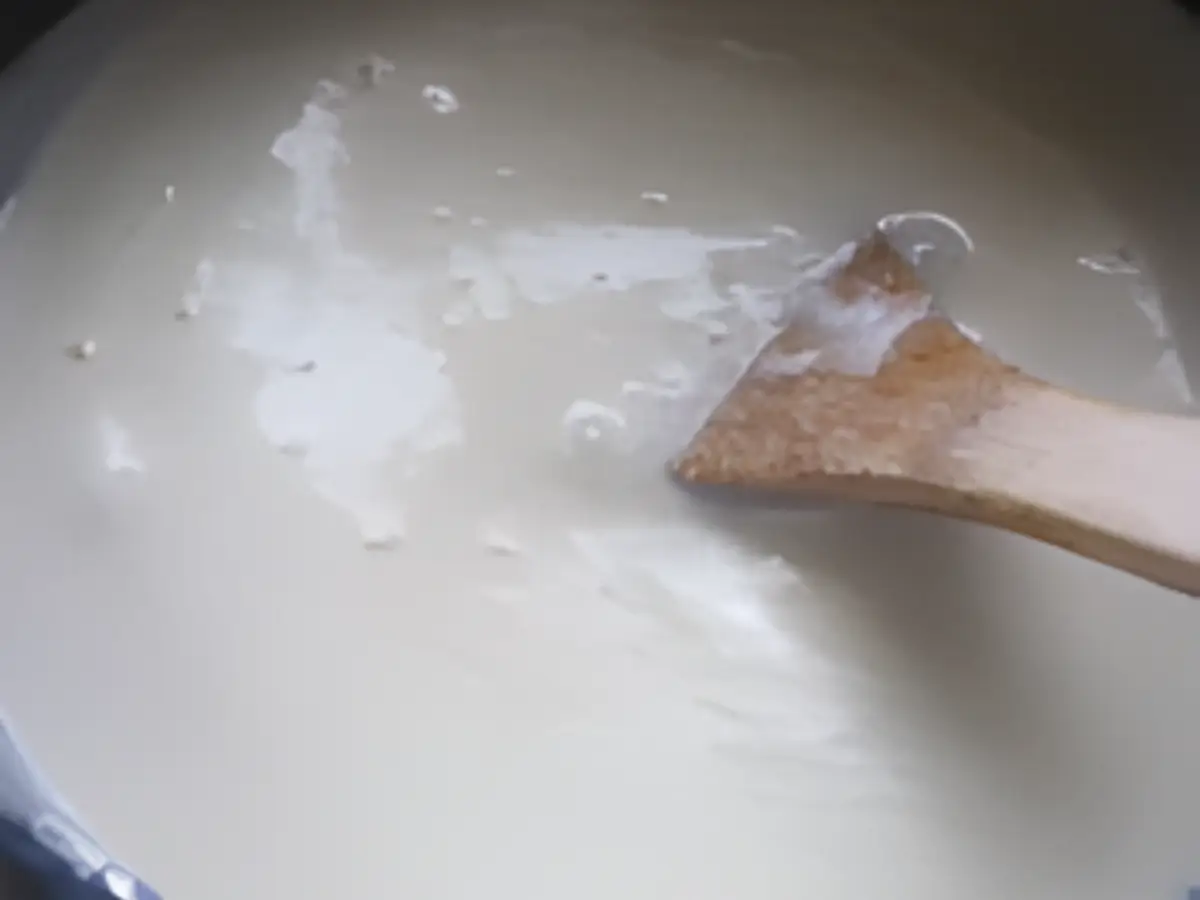
Step 4: Switch off the heat and add the baking soda. Stir well and let it cool.
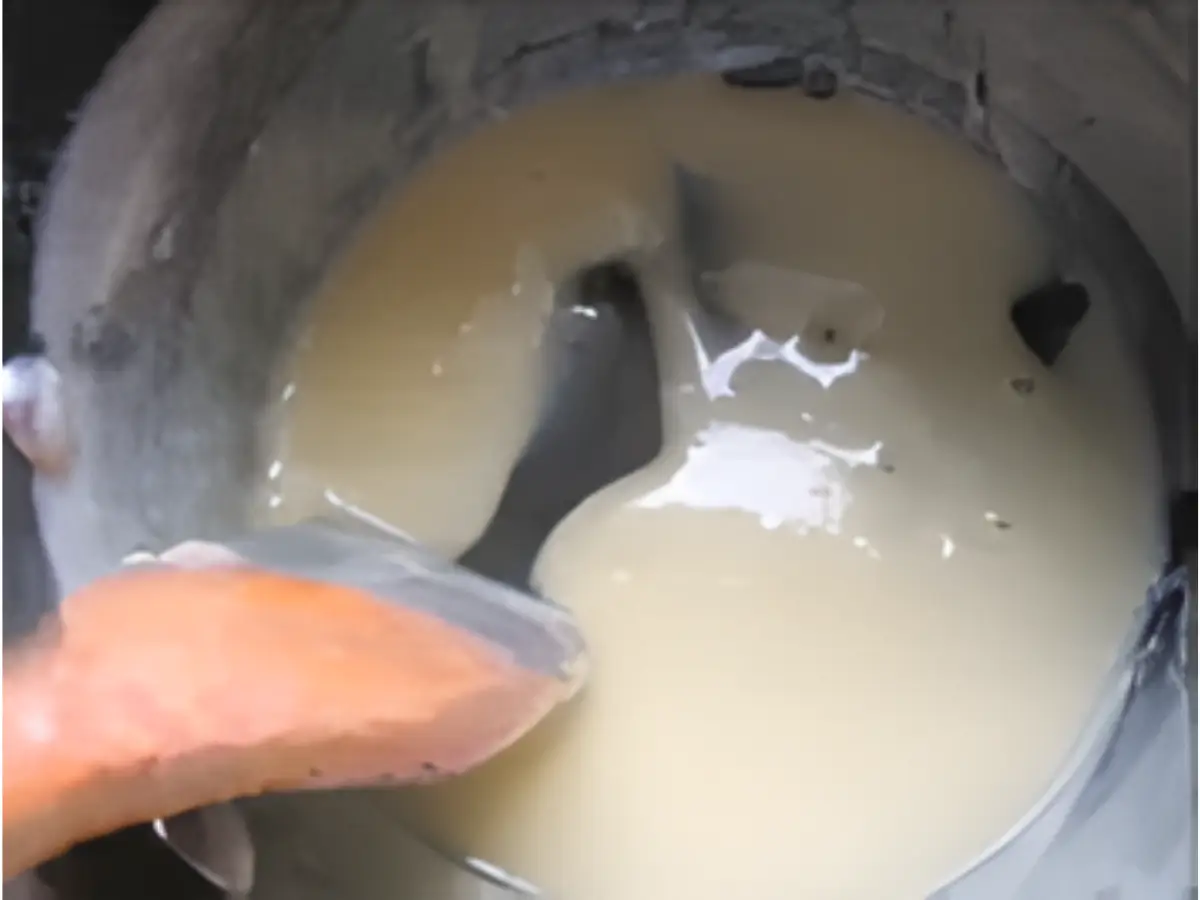
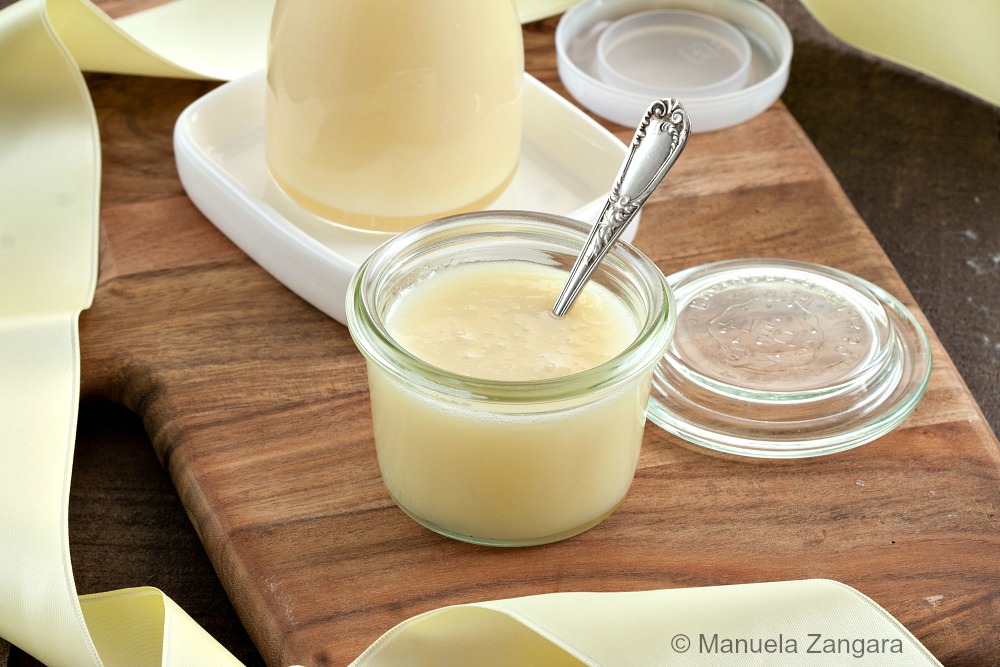
Step 5: Once cooled, stir well and store in an airtight container or use immediately.
Frequently Asked Questions
You can use maple syrup or honey, but the mixture may take a little longer to thicken, and the colour will be slightly deeper.
Yes. Adding vanilla, cinnamon, or a small amount of cocoa after cooling gives the condensed milk a subtle flavour twist.
It goes well with fresh fruit, ice cream, iced coffee, and many baked desserts. It also works as a drizzle over pancakes or waffles.
Stir leftover condensed milk into porridge, blend it into smoothies for sweetness, or mix it into cake batters for extra moisture.
Extra Help from the Kitchen
Choose a Heavy-Based Pan – Use a sturdy pan that distributes heat evenly to reduce the risk of scorching as the milk thickens, especially during the final minutes of simmering.
Keep Utensils Dry – Start with dry spoons and a dry pan rim so extra moisture does not affect how quickly the mixture reduces or alter the final consistency.
Stir Around the Edges – Run your spoon along the sides and base of the pan often because milk sticks more in those spots, and loosening it helps maintain an even texture.
Check Reduction by Volume – Mark the starting level on a heat-safe utensil or note where the milk sits on the pan, which makes it easier to confirm when it has reached half its volume.
Cool Without a Lid – Leave the mixture uncovered during cooling so steam can escape and no condensation drips back in, keeping the texture smooth and steady.
Variations and Twists
Dairy-Free Condensed Milk – Replace the milk with full-fat canned coconut milk and reduce it with the sugar in the same way. The mixture thickens well and gives a gentle coconut taste suitable for many desserts.
Add Vanilla or Cinnamon – Stir in up to 1 teaspoon vanilla extract or a small pinch of ground cinnamon after cooking. Both additions give a warm direction without changing the reduction process.
Use Alternative Sugars – Replace part or all of the granulated sugar with maple syrup or honey. The mixture may take a little longer to thicken, and the finished colour will be slightly deeper.
Homemade Condensed Milk with Milk Powder – Mix full–fat powdered milk with hot water until dissolved, then add sugar and reduce as usual. This works well when fresh milk is unavailable and stays smooth when whisked thoroughly before heating.
Storage and Shelf Life
Store homemade condensed milk in an airtight container in the refrigerator for up to 1 week, although it may keep a little longer if the container and utensils are clean and dry. It thickens as it chills, so warm the closed container briefly in hot water and stir to loosen the texture before using.
It can be frozen for up to 3 months in a freezer-safe container. Thaw it in the refrigerator and stir well, as the mixture may separate slightly.
Other Homemade Sweet Bases
Homemade Condensed Milk Recipe
No condensed milk in the cupboard? This Homemade Condensed Milk uses simple pantry staples and gives you a smooth, reliable result whenever you need it.
Ingredients
- 500 ml – 2 cups milk
- 200 g – 1 cup sugar
- 1 pinch baking soda
Instructions
-
Pour the milk into a pan and add the sugar.
-
Bring it to a boil, then simmer over medium–high heat, stirring regularly. Let it reduce to half its volume; this should take about 20 minutes. The milk can boil over at any time, so keep watching it.
-
After about 17–18 minutes, the milk will turn a vibrant colour and become very frothy.
-
Switch off the heat and add the baking soda. Stir well and let it cool.
-
Once cooled, stir well and store in an airtight container or use immediately.

Love travelling as much as cooking?
Many of the recipes I share are inspired by places I've visited around the world. On Travel with Manu you'll find destination guides, itineraries and travel inspiration to help you plan your next adventure.
Hii, For 200gms milk how much milk and sugar should I take?
For 200gms condensed milk how much milk and sugar should I take?
Do you need whole milk or will 2% work?
I found a recipe to make homemade coffee cream, and it required using Condensed milk... So, I made this recipe. It did not work well as coffee cream. It was way too sweet. Ever try it for cream?
Unfortunately I didn't have much luck with this recipe. I read the comments from others and it seems like this is a common problem for this recipe. Boiled a lot longer than 20 minutes....60 in fact. The mixture reduced and the color is correct, however it is NOT the right consistency for sweetened condensed milk. I fear it would fail in recipes that need that thicker product.
Even after 25 mins it didn't get frothy
Could powder stevia be used instead of sugar?
Hi just wondering if this can be made in a thermomix?
Thankyou
Thanks so much for this wonderful recipe. Condensed milk it pretty expensive so wasn't something we indulged in too often. Tried your recipe as soon as I saw it n it turned out perfect.
would it work with almond milk or coconut milk?
Hi Manu,
I have made condensed milk at home before but it usually takes a long time and that's why adding the baking soda is genius! It accelerates the process. The flavor was way much better than the can one but mine was very foamy. I didn't know exactly what a pinch would look like so I measured 1/4 tsp of baking soda. Could it be too much? When it cooled down there was a thick layer of foam and the condensed milk was just underneath it. Does it really happen? Do you strain it off? Thank you!
Hi Luciana. I think you put too much baking soda. 🙂 A pinch would be less than and 1/8 tsp. You can still use the condensed milk you made, just scoop out the foam with a slotted spoon and it should be good to go. I am very happy you liked it. I don't buy it anymore, home-made tastes so much better!
Hi do you need to use white sugar or can you use raw sugar.
I haven't tried it with this specific recipe, but I think it will work. The final colour may be darker though.
Can this recipe be turned into caramel like you can do by boiling the timed variety
Hi Samantha! I haven't made it yet with the home-made version, but I think it will work. 🙂
Thanks for the recipe Manu, I tried it exactly the way you said, but it didn't thicken... why can it be?
Maybe it needed more cooking? Also, it thickens up more when it cools down.
I also didn't cook long enough. There was foam, but it isn't thickening. Can I cook more once there's baking soda in it, or will it mess with the chemistry?
Hi Dawn
Try and cook it longer... I have not tried, but it's worth a try! 🙂
I made this, and it is really much better than the tinned variety. Thank you for the recipe.
Wow I never thought you could make sweetened condensed milk from scratch at home. Thanks for sharing this!